
23 Simple Christmas Nails Busy Moms Can Paint in 20 Minutes

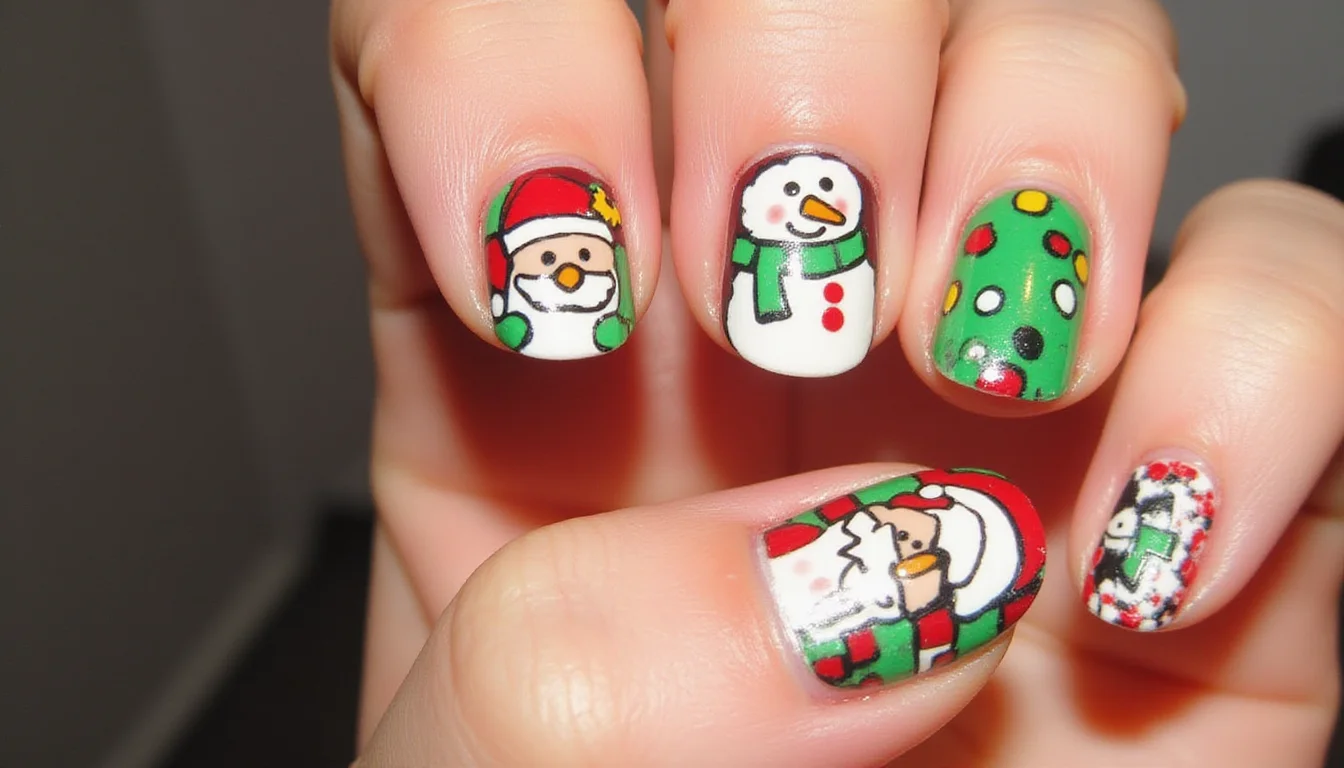
Simple here means each design takes 20 minutes or less and needs no more than three tools beyond polish. That keeps them doable during nap time or after bedtime, when most moms get a quiet half hour.
Most use a dotting tool (or a bobby pin), striping tape, and a makeup sponge.
Paint your base color the night before if you’re pressed for time, since every design below goes over a dry base. If your nails barely pass the fingertip, the designs in this guide to short Christmas nails are sized for that length.
1. Classic Red and Gold Glitter
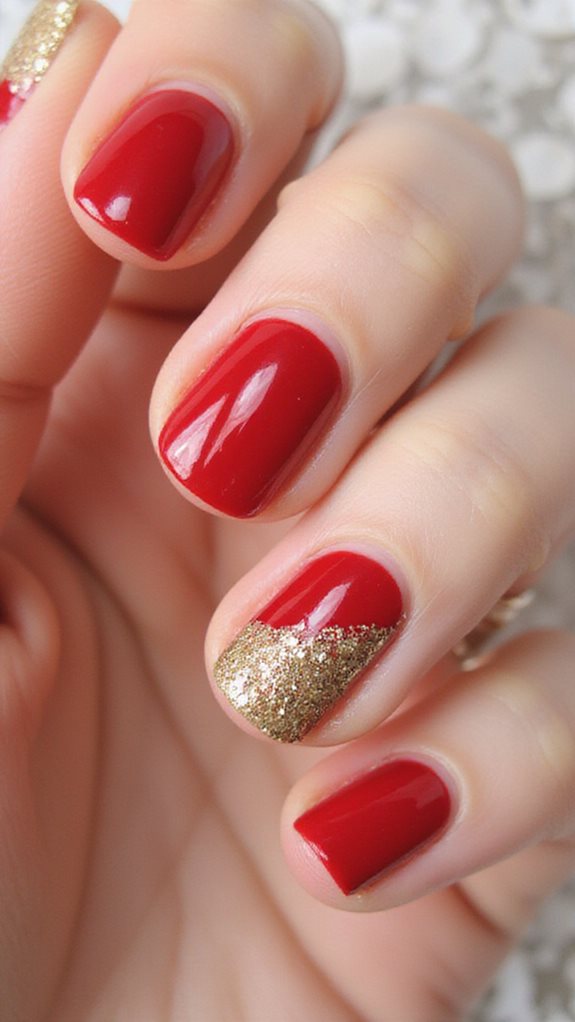
Red and gold glitter is the fastest way to look ready for a party, and it needs no tools at all. Paint a true red, then brush gold glitter polish over the top third of each nail.
For a fade, dab the glitter brush on paper first so less comes out, then stroke from the tip toward the middle. Fine glitter fades smoother than chunky hex pieces.
Glitter builds up fast. Two passes is enough, and a second coat of topcoat smooths any grit you can feel.
2. Emerald Green With Silver Accents
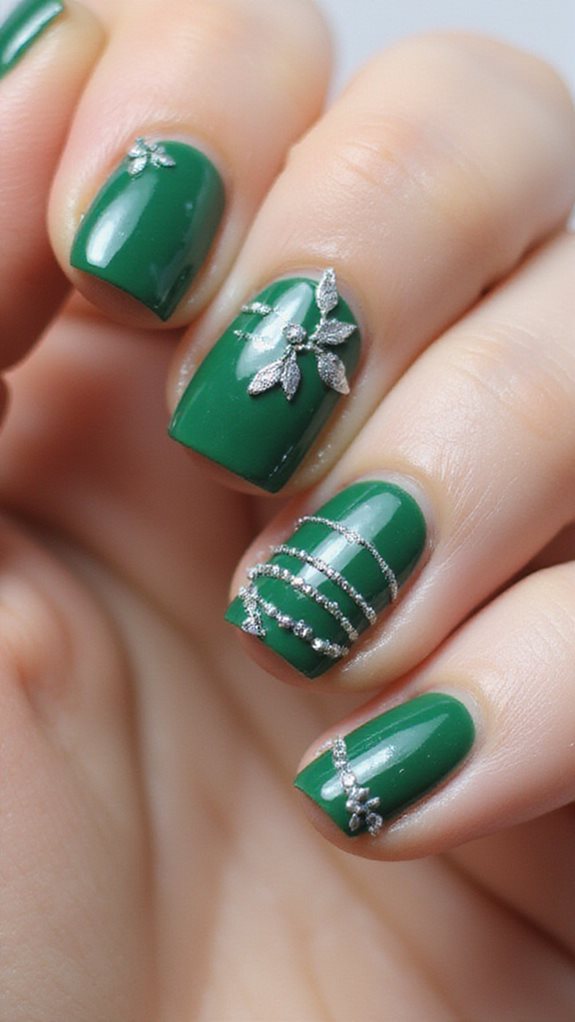
Emerald with a silver line at the cuticle takes about 15 minutes. Once the emerald base is dry, draw a thin curve with a silver nail art pen that follows the cuticle about 1 mm out.
A pen is easier to steer than a brush for this line. If it wobbles, tidy the edge with a small brush dipped in remover before the topcoat goes on. Emerald also carries into the New Year’s party, so one set covers two nights out.
3. Candy Cane Striped Nails
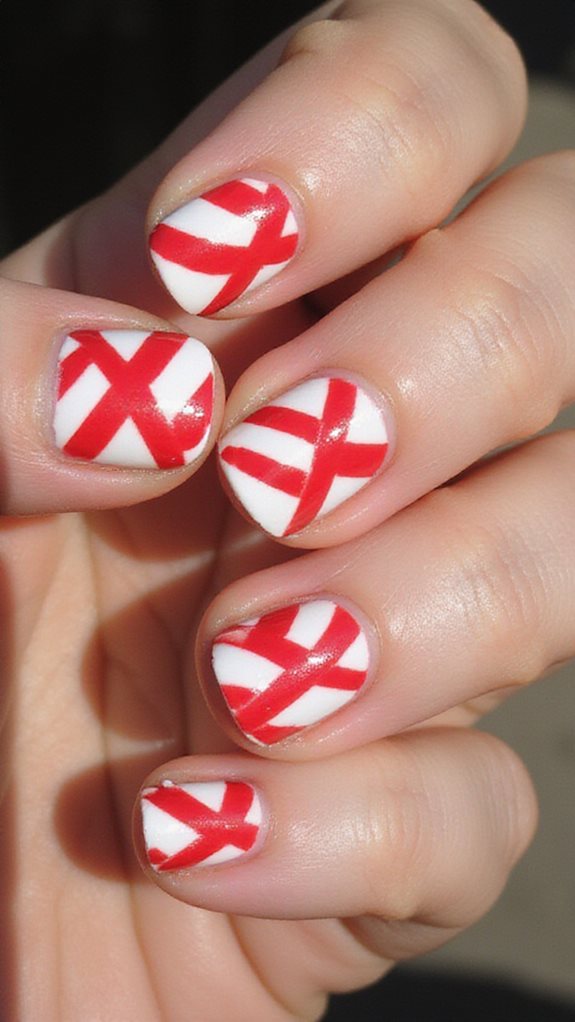
For an easy take on candy canes, keep the stripes to one accent nail per hand and paint the rest solid red. Paint the accent nail white and give it 15 minutes to dry.
Lay three strips of striping tape across it at an angle, paint red over the whole nail, and peel the tape while the red is still wet. The white shows through as clean stripes.
Tape pulls dry polish up with it. Peel it low and toward the side of the nail instead of straight up.
4. Winter White Snowflakes
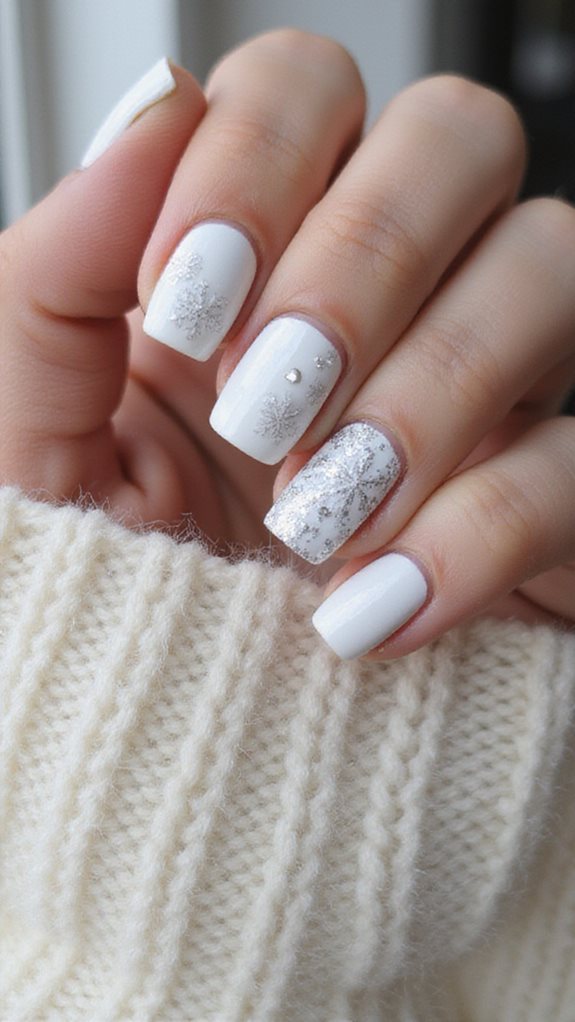
Snowflakes look complicated but come down to three crossed lines and some dots. Paint a pale gray, icy blue, or navy base, then draw the lines with a white nail art pen.
Finish each line with a dot from a dotting tool. One large snowflake on the accent nail and a few loose white dots on the others is plenty. For more cold-weather sets, see these winter nail designs.
Skip a white base for this one. White flakes vanish against it, while gray or blue gives them an outline. Navy gives the most contrast.
5. Rose Gold Christmas Trees
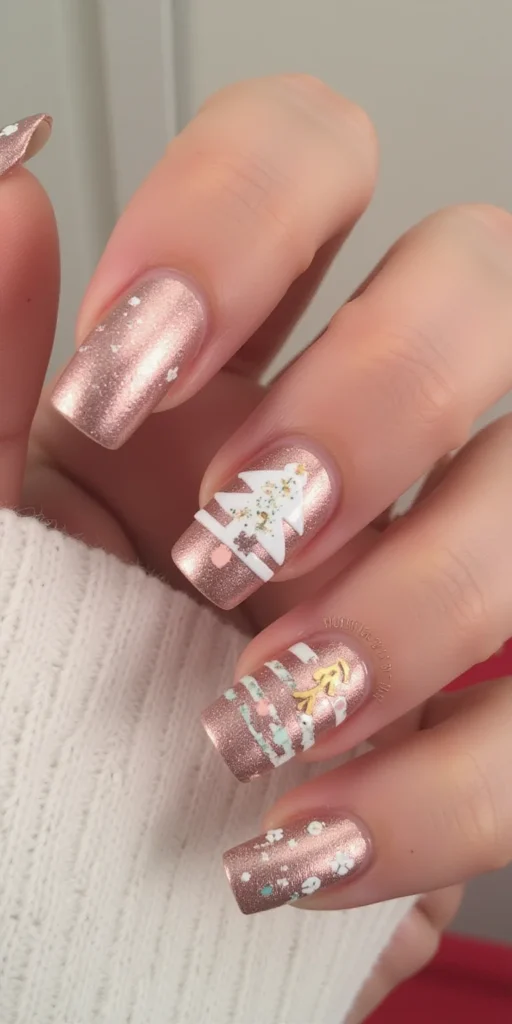
Rose gold trees go fast with a nail art pen and no freehand branches. On a nude or blush base, draw a tall, narrow triangle, fill it in, and put a gold dot at the top.
Keep it to one tree on the ring finger. Rose gold pens dry in under a minute, so the topcoat can go on almost right away.
Blush polish under rose gold also suits an office party or a winter wedding, so you can keep wearing it well past Christmas Day.
6. Deep Burgundy With Gold Tips
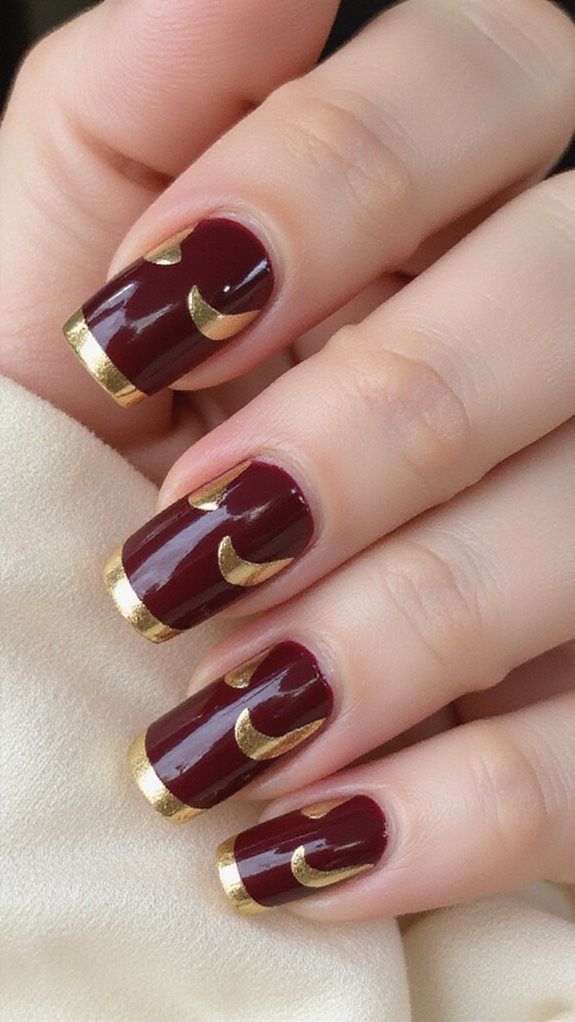
Burgundy with gold tips is a French manicure in holiday colors. Paint deep burgundy and let it dry for 15 minutes. Burgundy hides wear better than bright red, a plus during a long week of holiday events.
Stick a curved French tip guide about 2 mm below the free edge, then paint gold metallic polish above it. Peel the guide off right away.
Metallic gold shows brush strokes. Paint it in one sweep from side to side instead of several short dabs. Gold leaf polish works too.
7. Festive Plaid Pattern
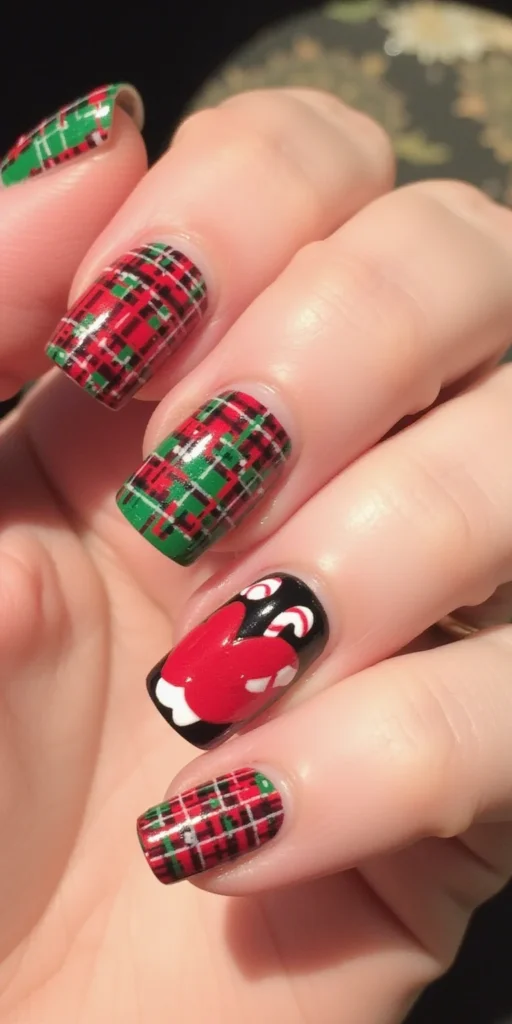
Full plaid takes close to an hour, but this two-line version takes 15 minutes. On a red base, paint one thick green stripe across the nail and one down it, then add a thin white line beside each.
That single cross looks like tartan from a normal distance. Add a second pair of lines later if you want a busier pattern. Forest green looks richer than kelly green here.
Shortcut: red and green plaid wraps cut to size take five minutes, though they lift at the tip after about four days.
8. Sparkling Silver Ombré
A silver ombre starts with a sponge and a sheer base. Paint one coat of clear or sheer nude, then brush silver glitter polish onto a corner of a makeup sponge.
Dab it on the tip half, then dab again closer to the edge so the sparkle builds there. Tidy the skin with a cotton swab and acetone.
Sponged glitter feels rough. A second layer of topcoat levels it out. Silver glitter on a sheer base also hides regrowth, so the set lasts an extra week.
9. Holly and Berries Design
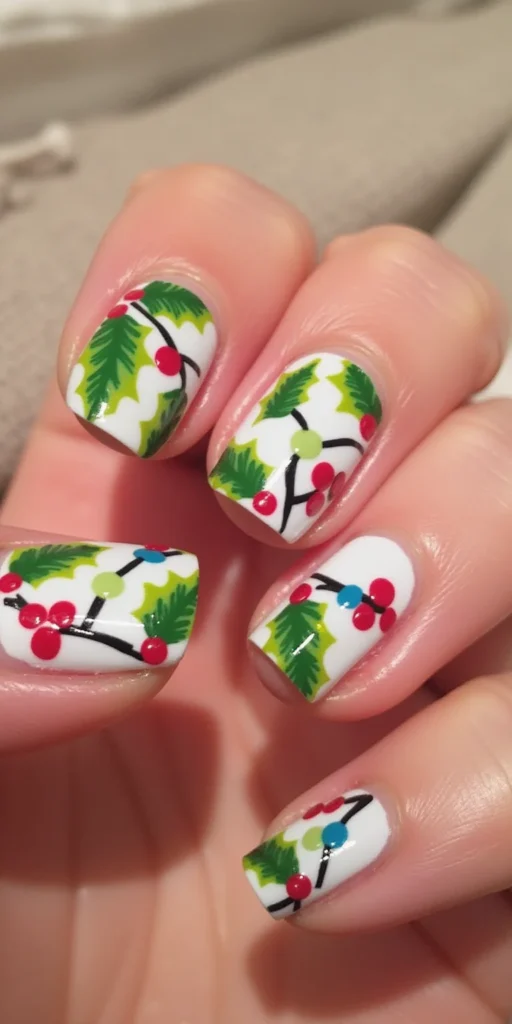
Dot holly skips leaf painting altogether. On a nude base, press two green dots side by side with a medium dotting tool, then drag a toothpick out of each to pull it into a pointed leaf.
Add three small red dots above the leaves for berries. Each nail takes about two minutes. Use a bright cherry red for berries so they stand out against the dark leaves.
Put holly on one or two nails per hand. A full set of ten starts to look busy.
10. Midnight Blue With Stars
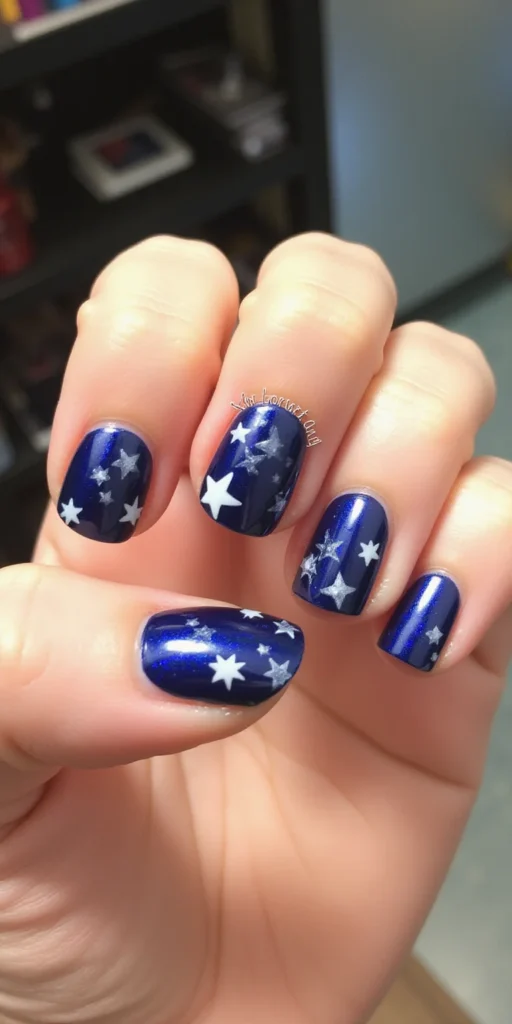
Midnight blue with stars works without stencils. Start with an opaque navy, then dot a few silver or gold specks across the nail with the tip of a toothpick. A dark base also hides tip wear.
Add one bigger star made of a plus sign with an X drawn over it. Star sequins pressed into wet topcoat do the same job if your lines come out shaky. Silver looks best on cool skin tones and gold on warm ones.
Navy and stars also suit these nails for New Year’s Eve.
11. Copper and Cream Combination
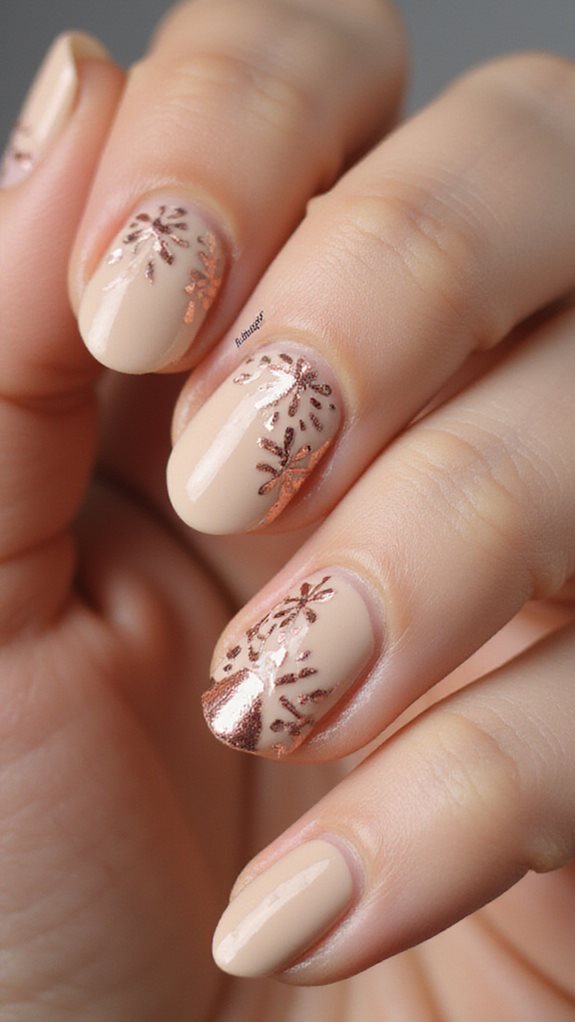
Copper and cream suit anyone who finds red and green too loud. Paint cream on most nails and copper metallic on one accent nail. The pair also matches a neutral tree or a kraft-paper wrapping theme.
For a little more, run a thin copper stripe across the base of each cream nail with a thin liner. It takes about a minute per nail.
Copper shows chips at the tip sooner than cream does. Swipe topcoat along the free edge every few days. Plan on 20 minutes.
12. Simple Santa Hat Nails
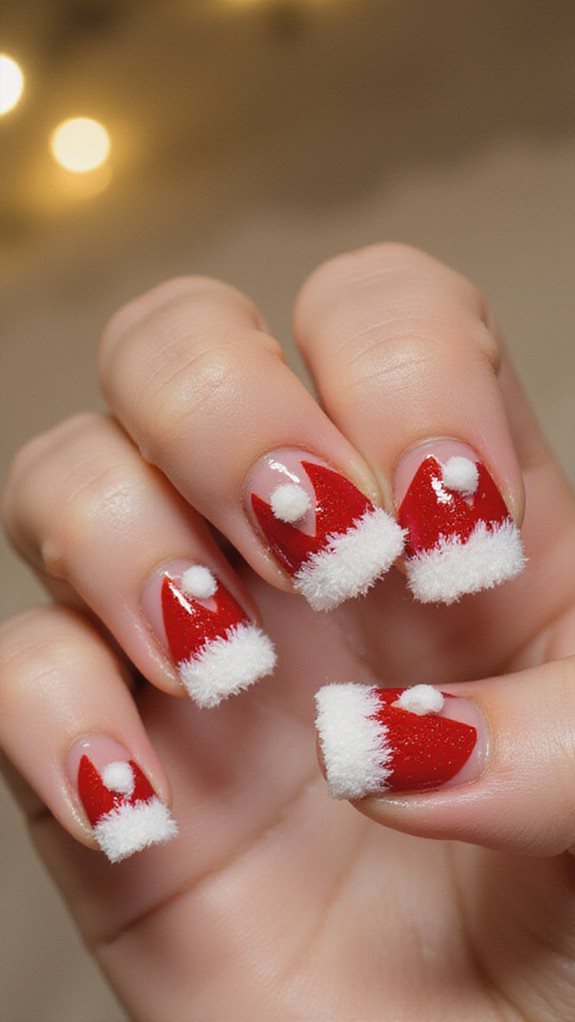
Santa hats need two colors and a dotting tool. Over a nude base, paint a red triangle that starts wide near the cuticle and narrows to a point at one corner of the tip.
Paint a thick white band across the wide end for the brim, then add a white dot at the point for the pom-pom.
Save this one for the ring finger and thumb. On all ten nails, it starts to look like a costume. A white glitter polish on the brim looks like fluffy fur trim.
A 20-minute plan
- Night before: two coats of base color and a quick-dry topcoat
- First 10 minutes: tape, dots or sponge work
- Next 5 minutes: let the art set
- Last 5 minutes: seal with topcoat and wrap the tip
13. Frosted Pine Green
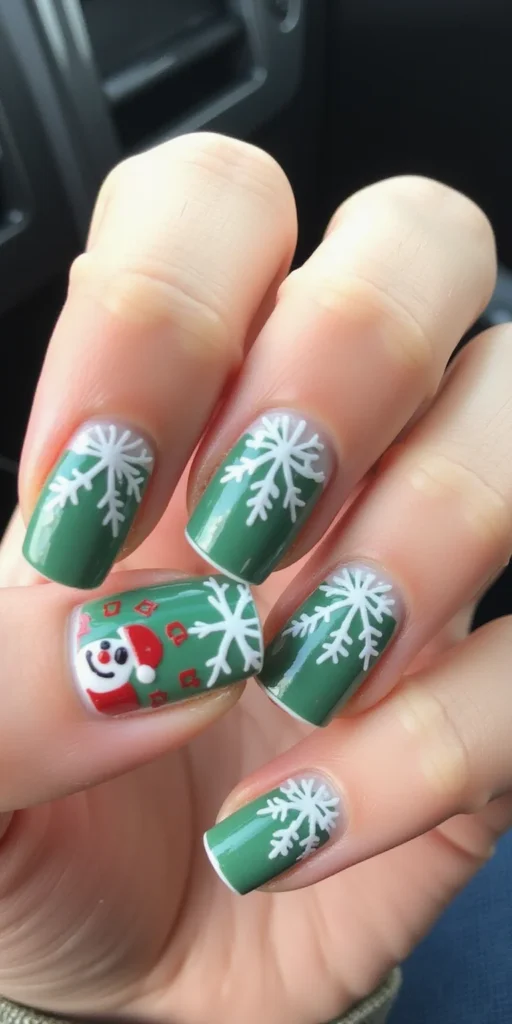
Frosted pine is one coat of shimmer over two coats of dark green. Pick a fine silver or iridescent shimmer topper, not chunky glitter, and brush one thin coat over every nail.
Finish with a glossy topcoat. A matte one dulls the shimmer, so leave it out here. Dark green also holds up longer than red, since chips show less.
Pine green with shimmer suits the whole season from Thanksgiving to New Year’s Day, and it pairs well with gold rings and a plaid scarf.
14. Champagne Glitter Gradient
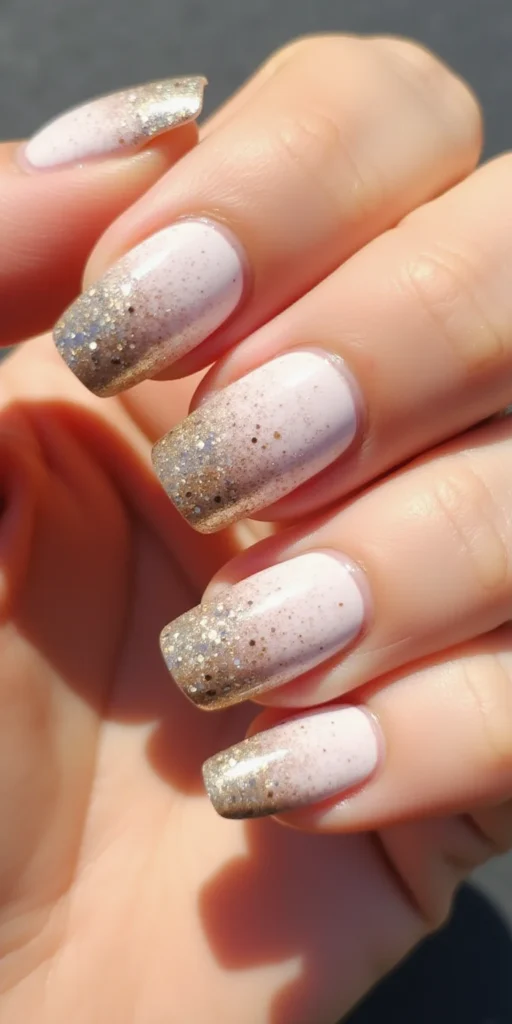
A champagne gradient hides chipped tips better than a solid shade, which helps through a week of parties. Paint a sheer nude base, then brush champagne glitter over the tip third of the nail.
Wipe most of the glitter off the brush and swipe once more over the middle third. That lighter coat makes the fade. It takes about 12 minutes total.
Pale glitter needs a sheer base. Opaque white under it makes champagne look gray. A sheer pink or beige base keeps it warm.
15. Red Velvet Matte Finish
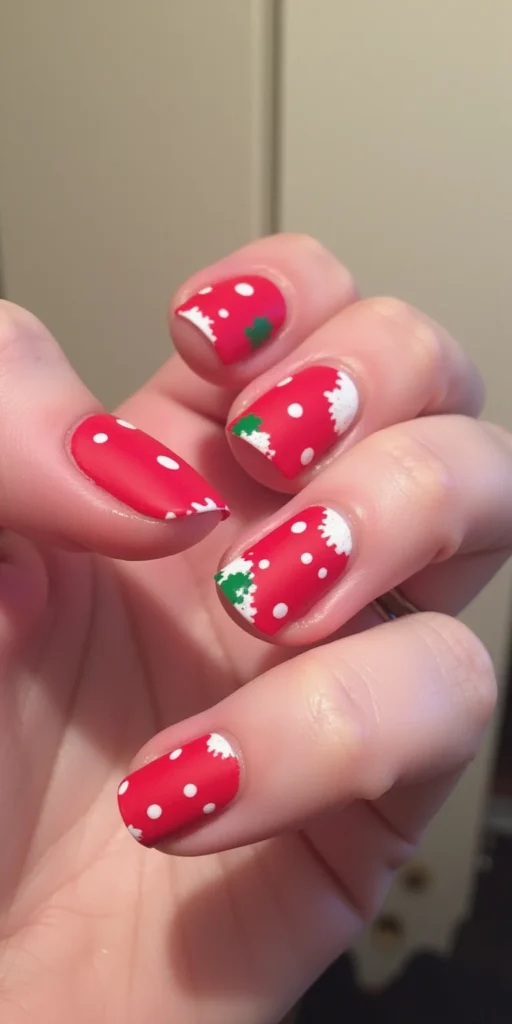
Red velvet is two coats of a deep wine red and a matte topcoat, about 15 minutes in total. The flat finish makes a dark red look soft, like fabric.
Matte wears to patchy shine within a few days, faster if you wash dishes by hand. Repaint the matte coat every third day. Rubber gloves for dishes stretch it to five days.
Party tip: add a glossy topcoat for the evening if the matte has gone patchy, and the set looks like plain wine red again. For a set that wears longer, try one of these chip-resistant nail ideas.
16. Golden Bell Accents
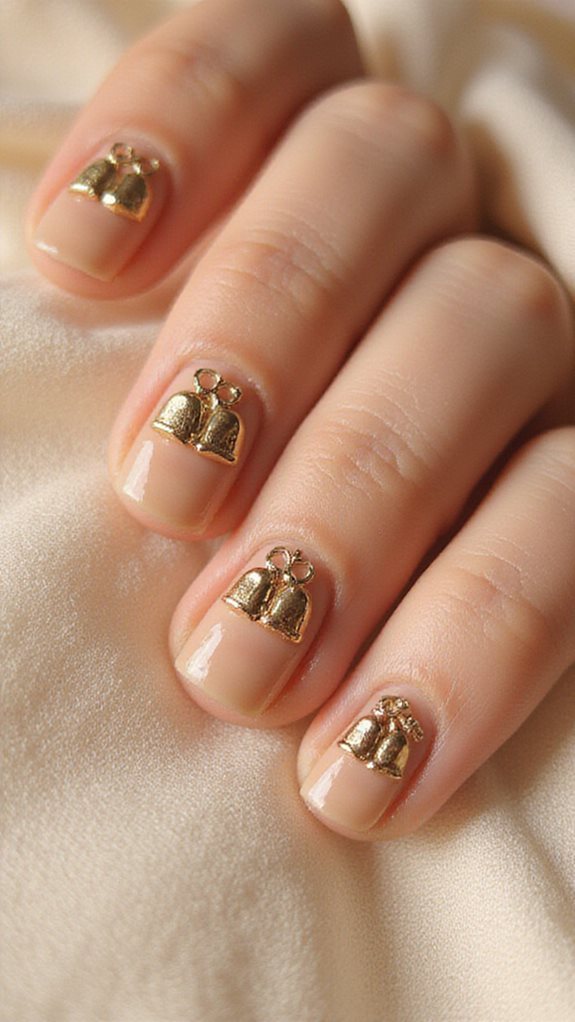
Hand-painted bells are fiddly, so this version uses gold bell decals. Paint a forest green or red base and wait 15 minutes before any sticker goes on.
Lift each bell with tweezers and press it near the center of the ring finger. Two small bells side by side look better than one large one.
Seal over stickers with two thin coats of topcoat. With one coat, the edges catch on hair and sweaters. Bell decals cost a few dollars for a sheet of 50 or more.
17. Ice Blue Winter Theme
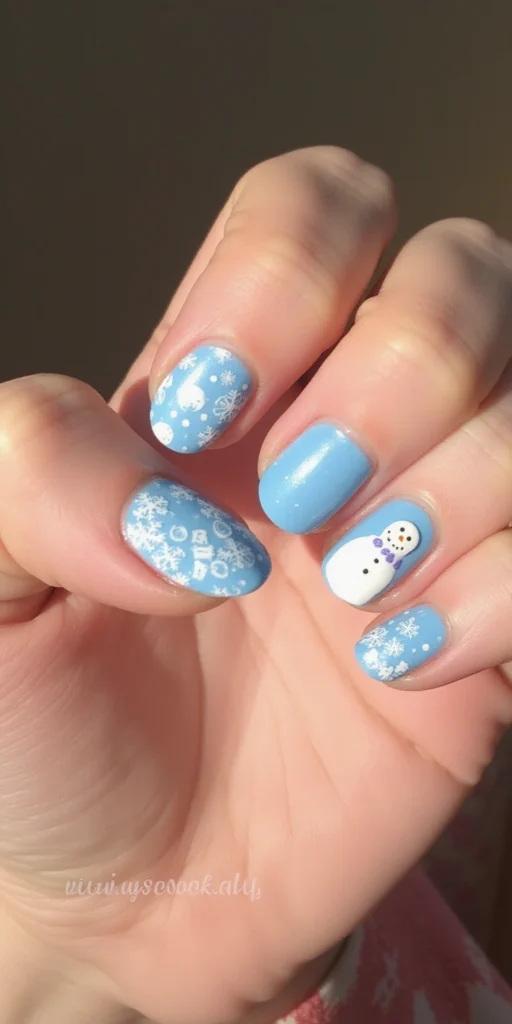
Ice blue is the pick for winter colors without red and green. Paint a pale icy blue with a hint of shimmer. It also stays seasonal well into February, so it suits moms who paint once a month.
On one accent, draw a white snowflake with a fine art pen, or brush a holographic topper over the blue for a frosted look. Both take under 15 minutes.
Some ice blues streak on the first coat. Give it two minutes, and the second coat evens it out. Pale blues return in these January nail ideas.
18. Traditional Green and Red Stripes
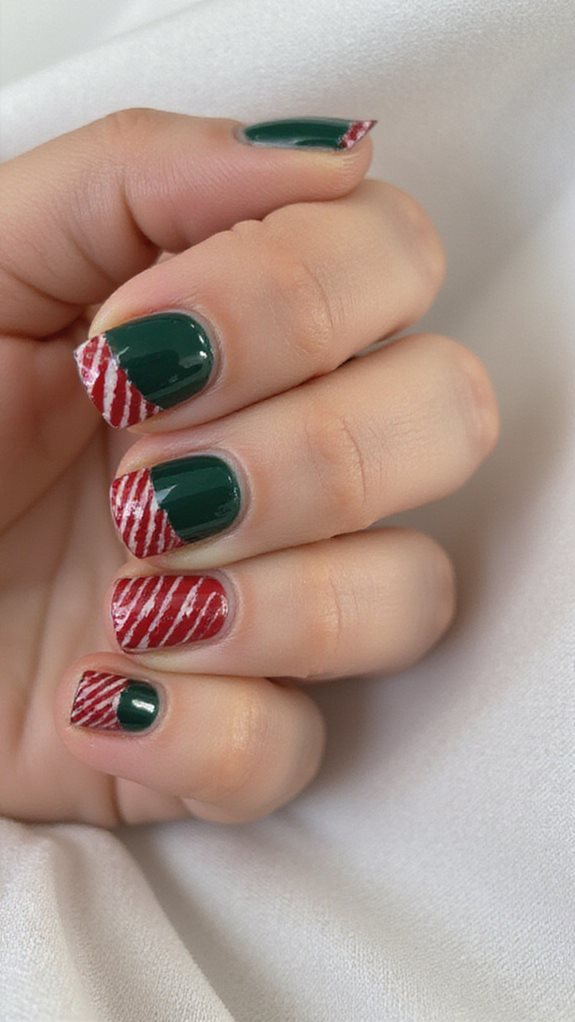
Green and red stripes stay neat because the tape does the work. Paint a red base, and once it’s dry, lay two pieces of tape lengthwise with a gap between them.
Paint green in the gap, then lift the tape before it sets. Vertical stripes make short nails look longer than horizontal ones. Narrow tape works best on small nails.
Red and green stripes suit the thumbs and ring fingers best, and the rest can stay solid red if you’re short on time before a school concert.
19. Pearl White Shimmer
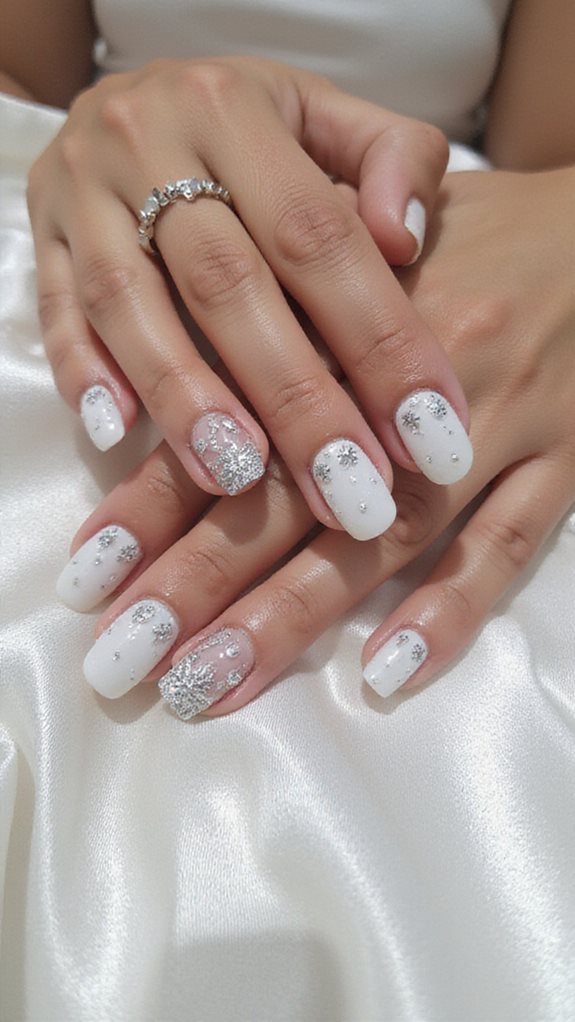
Pearl white is the quietest design here, and it needs one bottle. Look for a pearl or opal shimmer white, which is sheer, and paint three thin coats. It suits church, a work party and a family dinner alike.
Thin coats matter more with pearl polish than with a cream. Thick ones streak and take a long time to dry.
Skip the nail buffer. Buffing scratches off the shimmer that gives pearl polish its glow. Pearl also hides chips well, since the edge blends into bare nail.
20. Cranberry and Gold Foil
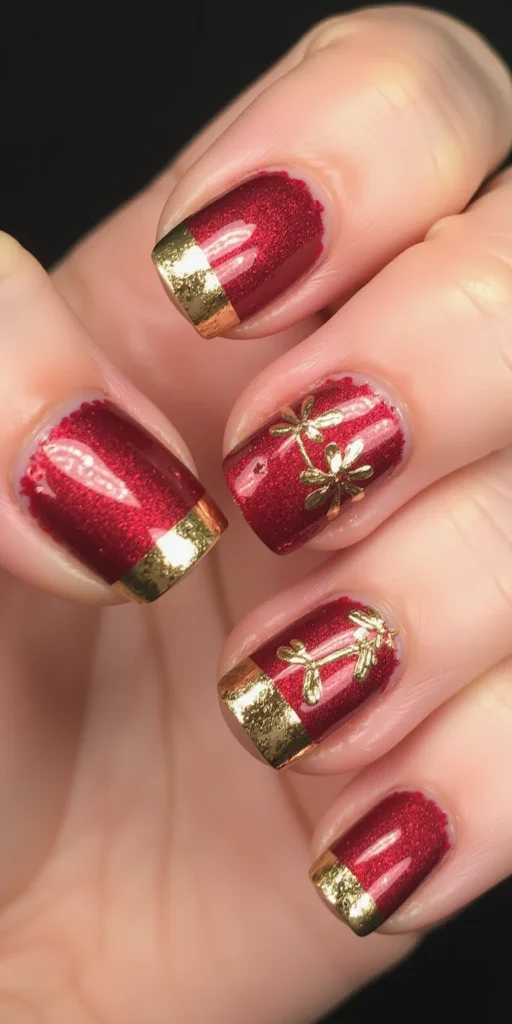
Gold foil flakes give a cranberry base a gilded look in about ten minutes. Paint two coats of cranberry, and while the second is still tacky, press a few flakes on with tweezers.
Tacky polish holds the flakes without foil glue. Press them flat with a silicone tool, then seal with topcoat twice. Fewer flakes look more grown-up than a full nail of foil.
Cranberry carries from Thanksgiving through New Year’s, so this set covers a lot of family gatherings for ten minutes of work.
21. Cozy Sweater Pattern
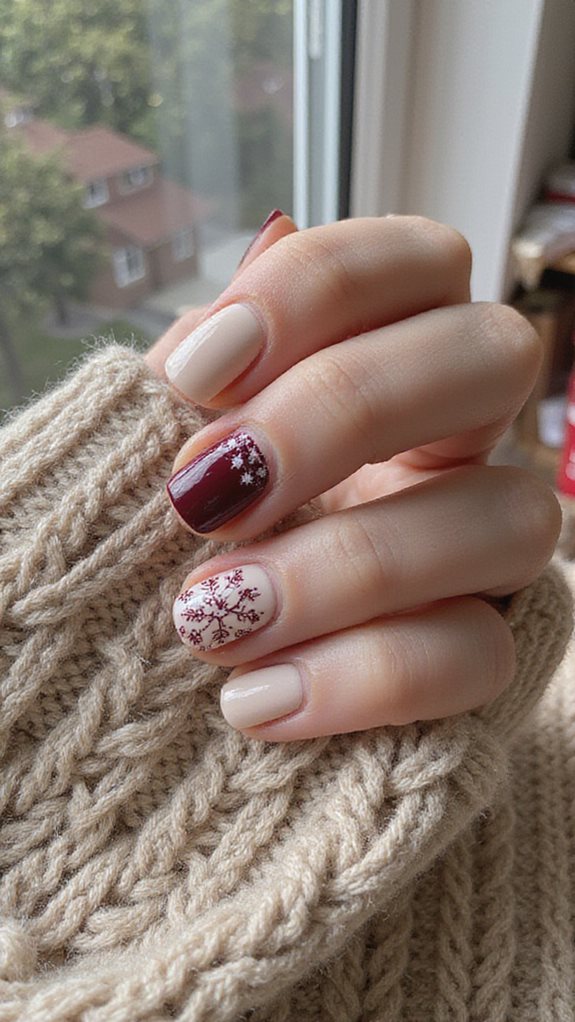
Real cable-knit nails need thick builder gel, so this version fakes the texture with dots. Paint a cream, oatmeal, or soft gray base. Use white polish for the dots and Vs.
With a dotting tool, place two vertical rows of small dots down the nail’s center, then paint a row of tiny V shapes between them using a liner brush. A matte topcoat makes it look like wool.
Matte picks up dye from dark denim. Keep fresh jeans away from your hands for the first day.
22. Metallic Christmas Ornaments
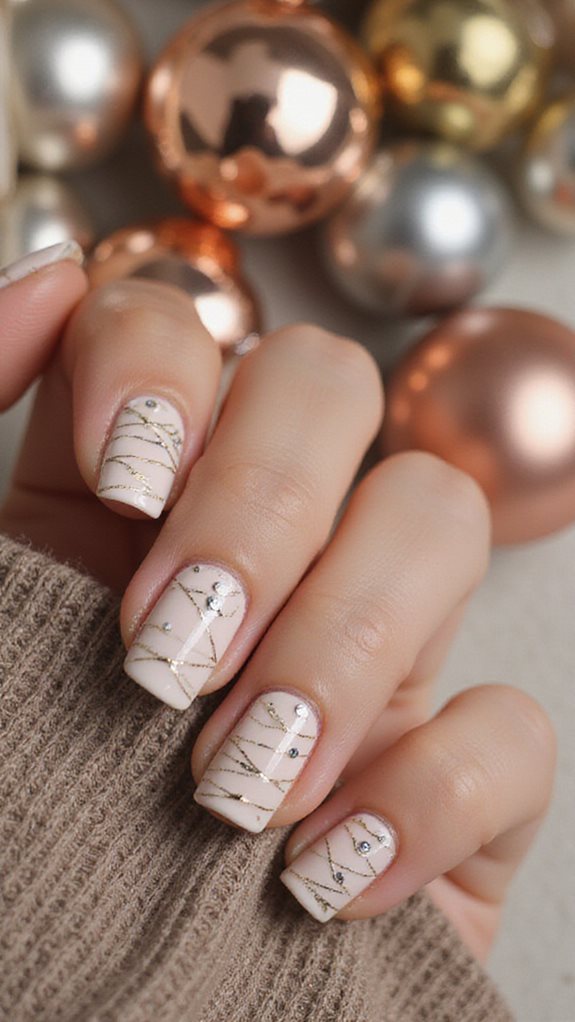
Ornament nails rely on a dotting tool for the circle, so you skip brushwork. On a deep green or navy base, dip a large dotting tool in gold polish and set down one round dot in the middle of the nail.
Add a tiny silver rectangle on top for the cap and a thin line from the cap to the cuticle for the string.
Chrome powder over gel gives the shiniest version, but it needs a gel topcoat and an LED lamp. With regular polish, a metallic gold gets close.
23. Twinkling Light Dots
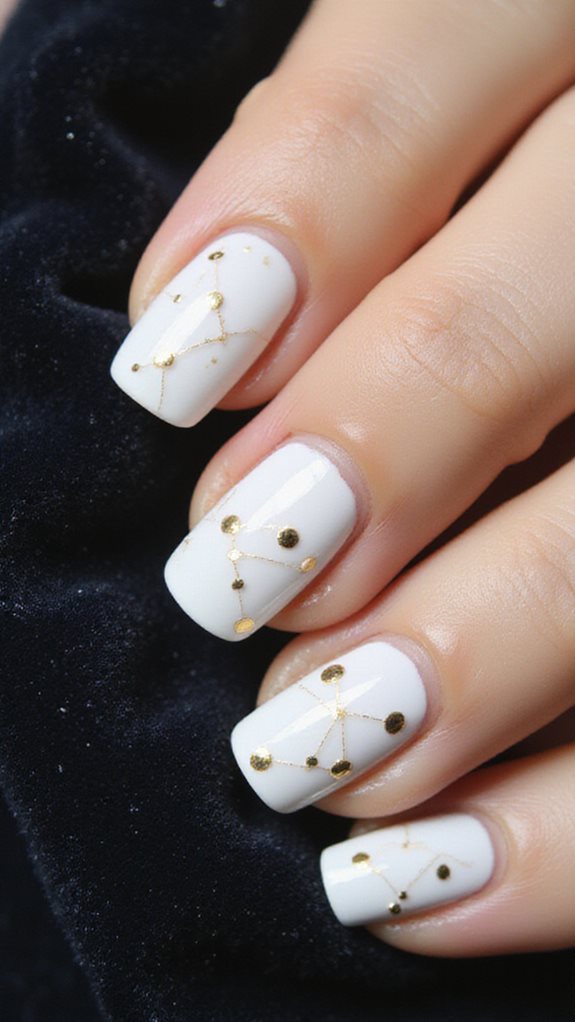
Light dots skip the wire and still look like string lights. Paint a navy, black, or deep green base, then scatter small dots of white, yellow, red, and gold with a toothpick. Use a fresh toothpick for each color.
Keep it to about ten dots per nail and vary the sizes. A holographic glitter topcoat over the finished dots makes them twinkle under party lights. It takes about ten minutes and hides small chips, since nobody spots a missing dot.
Choosing Your First Design
Start with a design that uses what you already own. The glitter fade, red velvet matte and pearl white need only polish, while the stripes and candy canes need a roll of striping tape.
For bolder shades of red, these red Christmas nail ideas pair well with most designs here. Swipe topcoat along your tips every few days through the holidays, and even a simple set holds up much longer.
Frequently Asked Questions
How Long Do Christmas Nail Designs Typically Last Before Chipping?
Regular polish with a base coat and topcoat lasts about five to seven days before the tips chip. Gel lasts two to three weeks. Designs with stickers or foil chip sooner unless you seal them with two coats of topcoat.
What Base Coat Should I Use for Christmas Nail Art?
For regular polish, any standard base coat works. A ridge-filling formula helps if your nails have ridges, since glitter and metallics show every bump. Gel base coats need gel polish and a lamp to cure.
Can I Do These Designs on Short Nails?
Yes. Stick to one motif per nail, like a single snowflake or tree, and keep the busier designs to an accent nail. Vertical stripes and dot designs suit short lengths best.
How Do I Remove Glitter Nail Polish Effectively?
Soak a cotton pad in acetone remover, hold it on the nail for 30 to 60 seconds, then press and slide it off toward the tip. Non-acetone removers barely touch glitter.
What Tools Do I Need for Simple Christmas Nail Art?
Three cheap tools cover most designs here: a dotting tool, a cosmetic sponge and striping tape. Add one nail art pen in white or gold, plus red, green, white, and gold polish.




2 Comments